Serves: 4
Approx cost: €4.50
Approx calories (per serving): ~600
Approx preparation and cooking time: 90 mins
I had a blast from the past a few weeks ago, reading the Eat, Play, Love blog. What should I see but Chicken Kievs – it’s been, quite literally, probably at least 10 years since I ate one of these. You can buy them frozen in England and then just bake them in the oven and it’s something I used to eat fairly regularly – I greatly enjoyed cutting into them and seeing (and smelling) the delicious, hot garlic butter ooze forth. I must have bought chicken 3 or 4 times since reading the post and always kept deciding it was too much effort to make them, but finally I got around to giving it a try.
I was actually surprised by the results – the texture, appearance and smell of the final result was very, very similar to the ones I used to buy, which really brought back a lot of memories of when I was younger – they even had the little cavity in the middle where the butter is (or should be) – unfortunately I started by cooking them the wrong way so the butter oozed out – sigh! Not to worry, I’ve modified the instructions below to ensure that doesn’t happen. The chicken breasts I used were actually enormous – I was very full afterwards so it’s a good thing I only served it with some steamed courgettes!
Ingredients
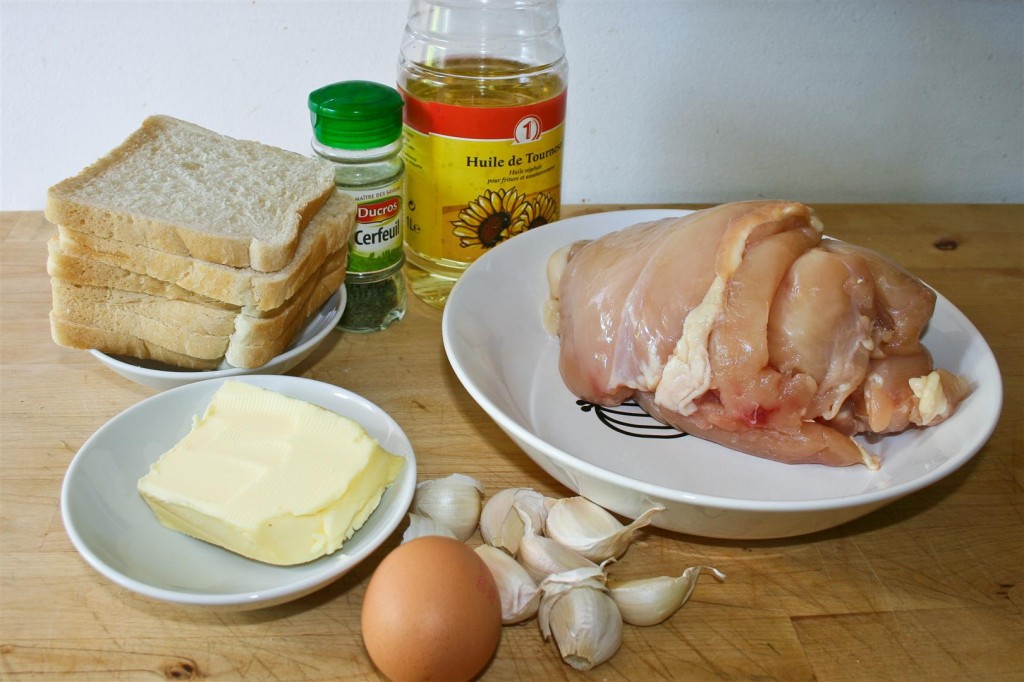
– 4 x Chicken Breasts
– 80g Butter
– 4 – 8 cloves of Garlic (depending on how strong you like it!)
– 1 Egg
– ~4 slices White Bread (or a packet of Bread Crumbs)
– 2 tsps dried Chervil (optional)
– 4 tsps Sunflower Oil
You’ll also need
– A Food Processor (if not using instant bread crumbs)
– A Meat Tenderiser (or a heavy rolling pin!)
– A Pastry Brush
Instructions
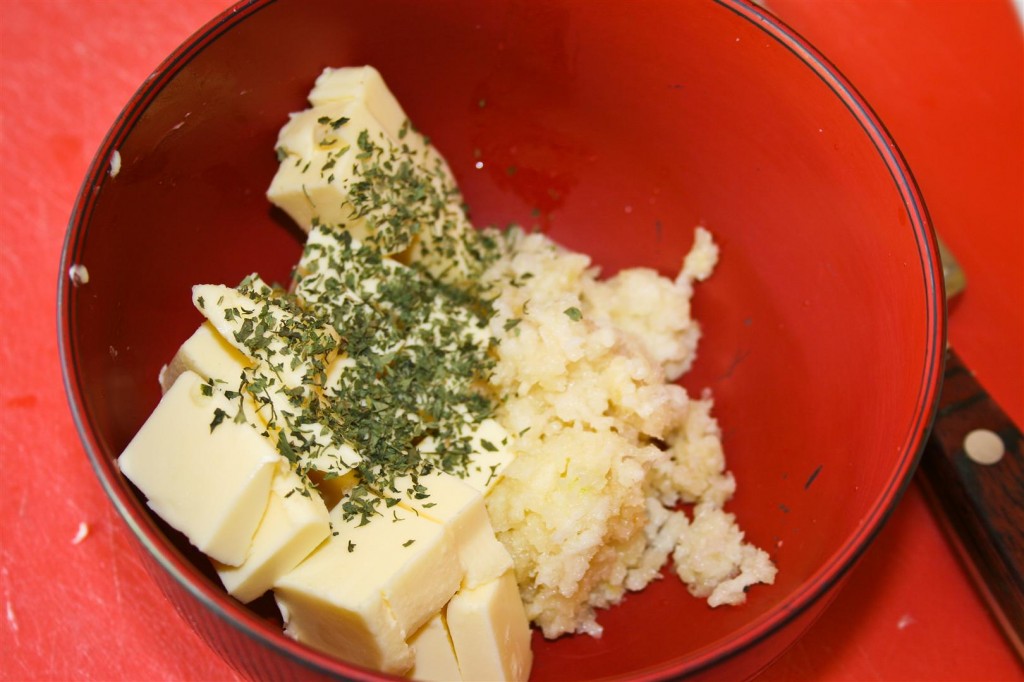
- First take the butter and, if very cold, cut into small cubes. Mince the garlic and transfer to a bowl with the Chervil and the butter. Mix well to combine all ingredients and then stick back into the fridge while you prepare the chicken.
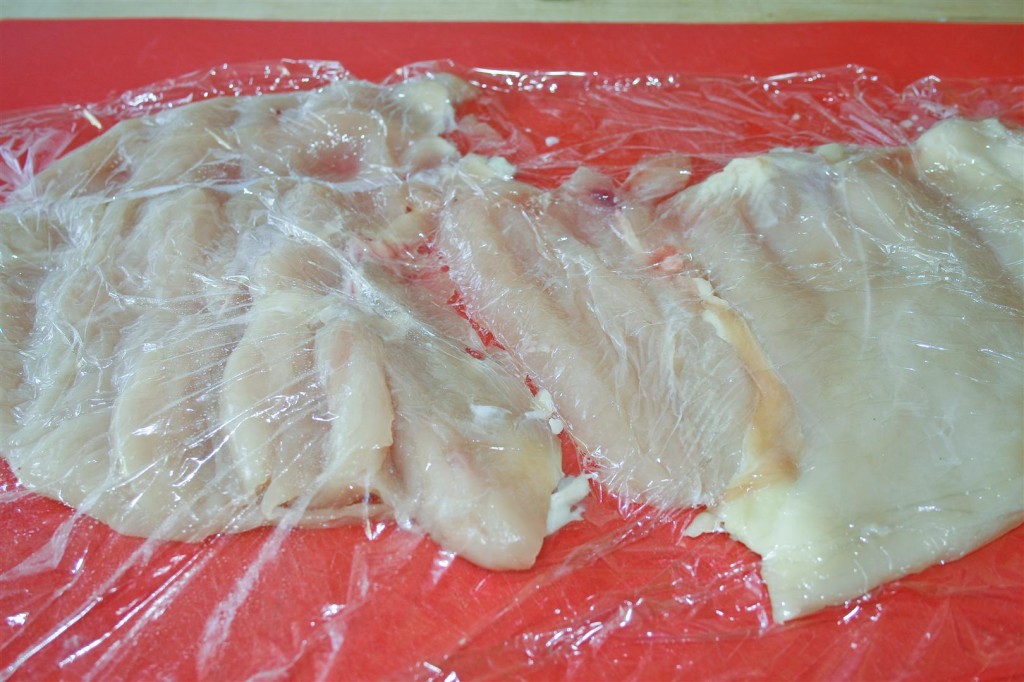
- Take the chicken breasts and place on a chopping board. Cover with plastic wrap/cling-film and then whack them flat with a Meat Tenderiser or rolling pin. In the end they should ideally be around 5mm thick.

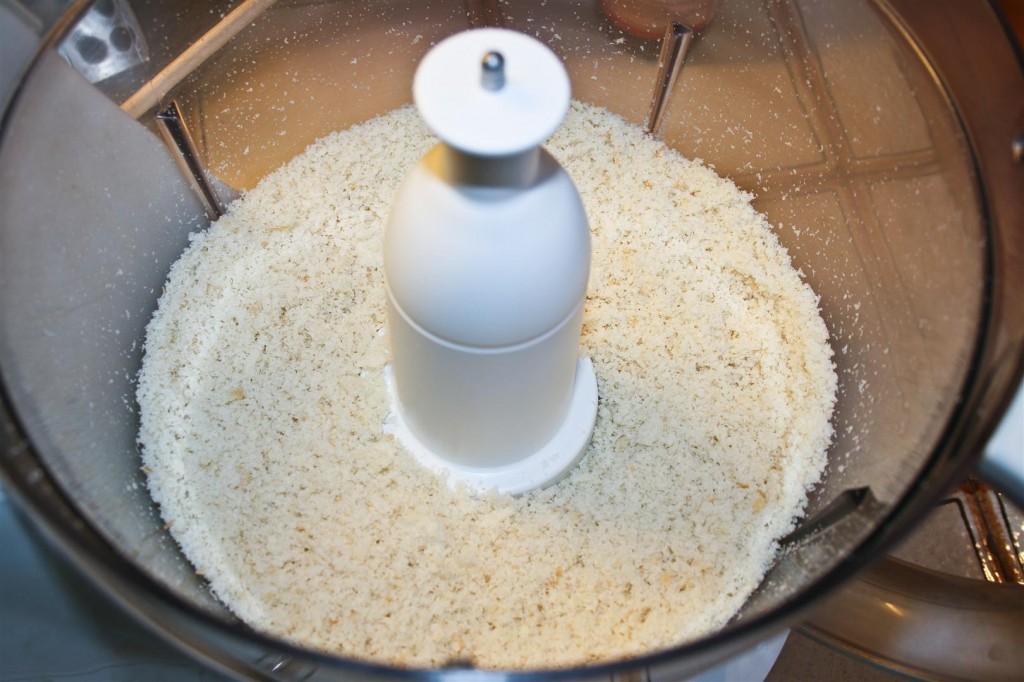
- Set aside for a moment and then turn the oven on to preheat to around 140 degrees Celsius. Meanwhile, crack the egg into a small bowl and beat well. Take out your Food Processor (if using ready-prepared breadcrumbs, skip to next step) and place the bread into the bowl. Chop for 2 minutes or so until you have fine breadcrumbs. Pour these into a large bowl.

- Take out your butter and garlic mix from the refrigerator. Divide into 4 lumps and then place a lump into the centre of each flattened chicken breast. Fold the breast over onto the butter and then, holding it in the palm of your hand, squash it gently into a neat package. Using your Pastry Brush, brush each chicken breast liberally with beaten egg, before rolling in breadcrumbs. Place folded side upwards onto a baking tray (so the butter doesn’t run out) and drizzle the sunflower oil over each kiev.

- Place into the oven for around 30 minutes. After this time, you can turn the kievs over as the folds should have been sealed sufficiently by cooked egg and chicken juices to prevent too much butter escaping. Continue to cook for another 30 minutes or so before removing from the oven, plating up and enjoying! I like my chicken dry when I cook it so I perhaps cook it a bit longer and more slowly then other people – if you like it a bit more succulent then obviously adjust temperatures and cooking times accordingly. Enjoy!


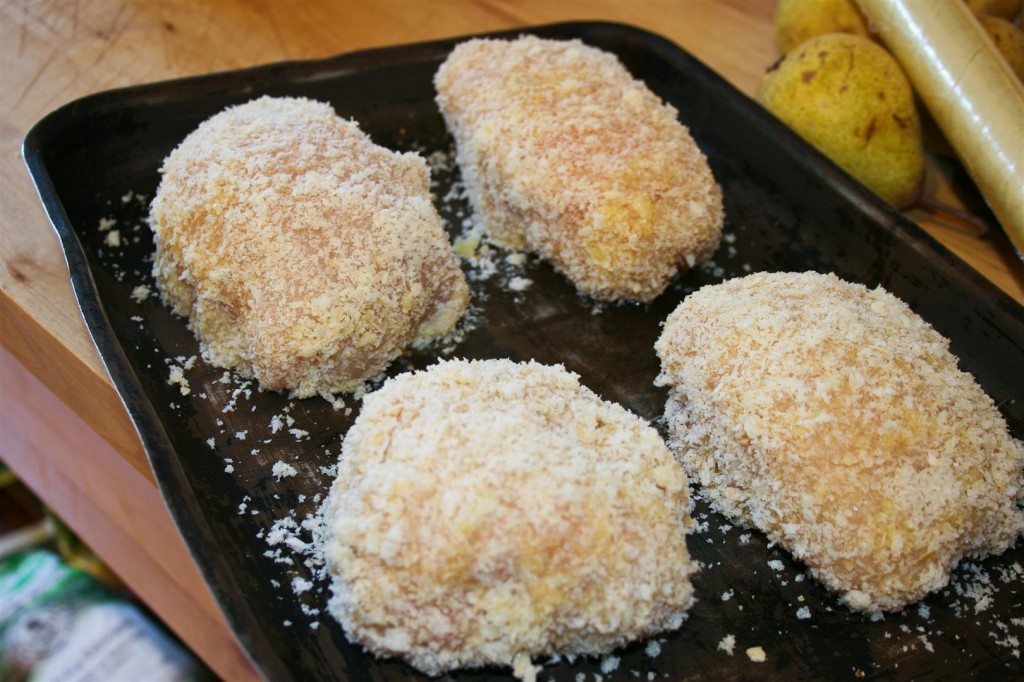
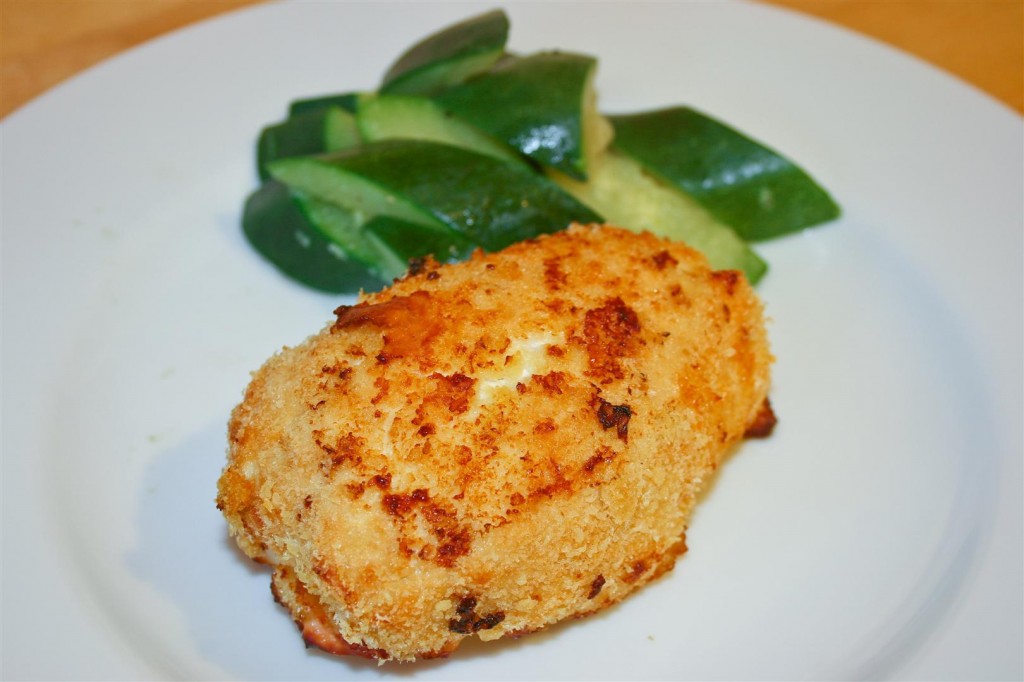
I love the last picture! It makes me want chicken kiev right now! (Too bad it's breakfast time.) 😉 Thanks for the shout-out and glad that we brought back some memories for you.
It's got me thinking – while about as "untraditional" as you can get, I bet these are incredible if you stuff the centre with a mix of bleu and cheddar cheese or something – Oh my…. 😀
Yummy. Cheddar! That sounds like a nice gooey treat of cheesy goodness! 🙂
ChefMom makes a mean chicken kiev! This is such a classic dish. Great pictures and thanks for the reminder I still need to make this.
It turned out a lot more golden than I'd anticipated! Definitely going to try it again – Might flatten and then marinade the chicken overnight – I think that would be pretty awesome!
I would have liked to see a shot of the kiev cut and some oozy goodness 😛
Ahaha, next time for sure – the time I made them this time I started off by baking them the wrong way up so must of the buttery awesomeness ran out 🙁 Still, drizzled it over at the end to avoid wasting it!
I believe I've seen recipes where the butter was frozen into a block and these blocks were placed inside the chicken package. The chicken was held together with toothpicks prior to dipping in egg, crumbs and then baking. This might help with the escaping butter situation. 🙂
Ah now that would make sense – kind of like how those small chocolate cakes are placed in the refrigerator prior to cooking so you get the “volcano” effect at the end. By the time the butter had melted everything would be all sealed in. Great tip, thanks a lot!
I just got your recipe suggestion! I had to look it up at first, I'd never heard of any of them but wow! They look and sound SO good, especially rasgulla and rasmalai! I've added them to the list on the Interact page – I'm DEFINITELY going to make them soon, can't wait! Thanks for the idea 🙂